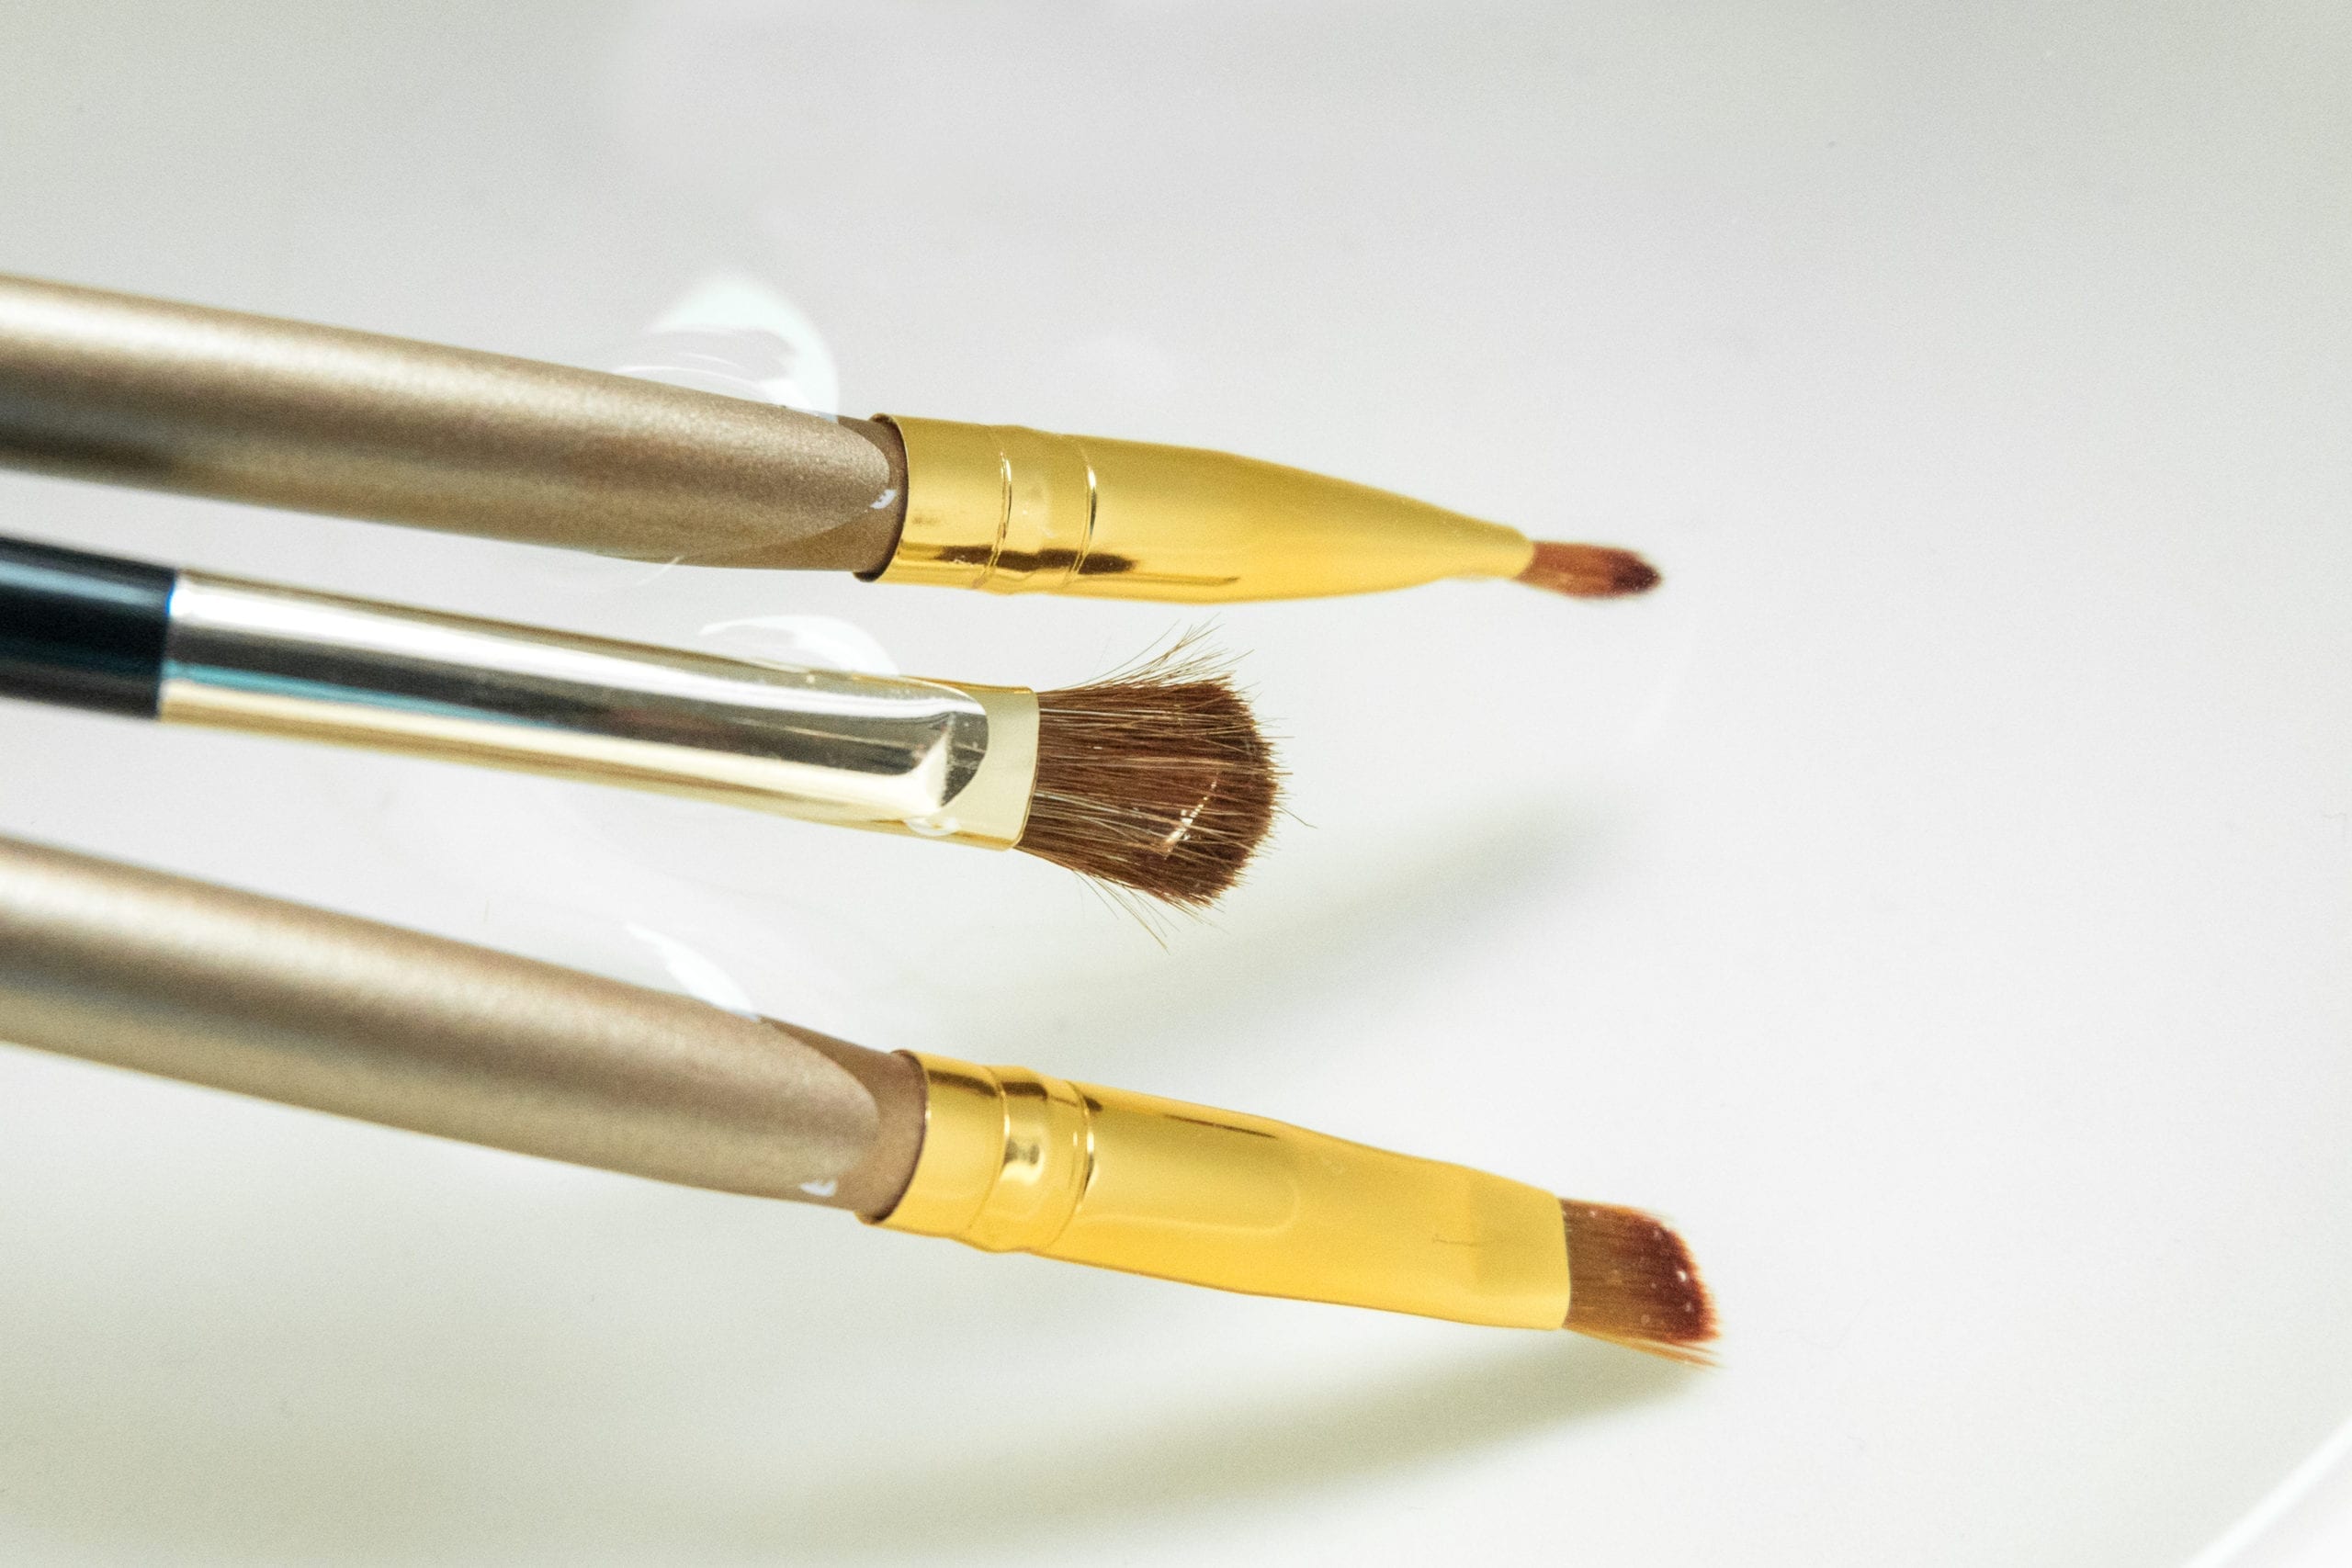
We are all too clear on the importance of personal hygiene with all the handwashing, mask-washing and general social distancing, but oftentimes we forget about our makeup brushes. While makeup brushes should be cleaned regularly – given that they touch our eyes, mouth and face – many may not know the proper steps on how to disinfect. Or some people just dislike the task so much that they let the brushes go far too long without being cleaned. This can lead to all sorts of unpleasant results.
Why You Should Clean Makeup Brushes
Makeup brushes hold a lot of dead skin cells. It’s gross, but true. There is also oil and dirt which can all cause bacteria and affect your face. Some think that a thorough washing every month is enough, but we should actually be doing it more frequently. Many dermatologists will encourage a good brush bath once a week to help skin stay healthy. Another benefit to keeping your brushes clean is that it extends the life of the bristles. If your brushes are dirty, it can also make for a spotty application.
There are a variety of brush cleaners available at beauty stores, which can make life easy, but if you’re not interested in spending that kind of cash you can also use a gentle soap and water. There are even a few dishwashing detergents and gentle shampoos that can be used too. The important thing is that you are cleaning your brushes regularly.
Here Are The 8 Steps For Cleaning Your Makeup Brushes:
- Wet the bristles with lukewarm water
- Squeeze a small amount of soap on your hand
- Swirl the tips of the brushes onto your hand/soap (be careful to only get the bristles and not the rest of the brush wet, as it can break down your brush faster)
- When you get a good lather and feel like you’ve worked out most of the makeup, dry the brushes thoroughly with a towel (brushes may require a second rinse)
- Reform the bristles so the brush reflects its natural shape when dry
- Set brushes on the ledge of a countertop on the sides and air dry, you can even use a fan if you want to speed this process up (and set on a paper towel rather than a cloth towel as this can encourage mildew)
- You won’t want to let the brushes dry while standing up, because moisture can leak below the bristles into the barrel and disintegrate the glue holding the brush together
- Optional – you can apply a mist of rubbing alcohol to help sanitize the brush, but use sparingly as too much can break your bristles down
Cleaning Sponges
It’s simple and convenient. But if you are a product enthusiast, some professionals like to use cleansing tools. There are specific sponges made to clean makeup brushes and don’t require soap or water. The porous nature of the sponge will absorb everything from the brush. Or you can opt for a makeup cleaning glove. These are textured and provide a deep clean. But if you’re crunched for time or simply hate the chore, you may want to opt for one of the electric brush cleaners on the market.
And while we’re on the topic of sponges – you should definitely be cleaning those too. Depending on the reusable sponge you have, you want to avoid it cracking or misshaping so visit the website of the specific sponge you have for cleaning instructions. Typically speaking, reusable sponges can be cleaned with soap and water and a quick zap in the microwave to eliminate any bacteria. Just make sure it’s only for a few seconds. And, if you are using the wedge style sponges that typically come in bulk, these should only be used once and then tossed. This is because they are made of a different material than the reusable sponges and can harbor a lot of bacteria.
When To Toss Old Brushes Out
Keeping your brushes fresh and clean will help extend the life of your brushes, but it’s also good to know when to toss them out. With daily use, brushes will naturally begin to show some wear and tear. If you see the bristles start to fray, or if the brush loses its shape, that’s definitely a good indicator that it needs to be replaced.
An expired brush can affect your makeup look, make application uneven and be more challenging to use if you are blending. And take notice of how you are storing your brushes. If you keep them in a cramped make up kit or bag, this can also wreak havoc on the bristles. If you really want to be safe, you can opt for brush covers. If you notice an unpleasant smell coming from your brushes, it’s time to remove it from your beauty arsenal.
And while you are tossing out expired brushes, it’s also a great time to look at the expiration date of the products you’re using. Ingredients degrade over time and this can lead to rashes, breakouts and irritation.
Conclusion
Now that you’ve got your brushes squeaky clean, you will start to notice a visible improvement in the way your makeup turns out. As every beauty lover knows, brushes are an important tool and a necessity to get your look just right.


